In this article I’m going to show you how to enable CloudFlare Flexible SSL for your WordPress website.
Cloudflare flexible SSL is the simplest method, to get your site running under SSL (HTTPS) fast and free. Using CloudFlare, you don’t need to purchase an SSL certificate and do any complicated server configuration, pretty much any host will work.
I will try to create very detailed guide on how to do this right, with proper redirects for non-SSL content and HSTS. Don’t be afraid of it’s length, the steps are fairly simple.
What you gonna need
- A WordPress site with admin access and ability to install plugins.
- Access to your domains DNS records. In the example I’m going to use a domain name registered at godaddy.com, but any other registrar should work, you just have to look for an option to change name servers.
- CloudFlare account. You can create one for free here: https://www.cloudflare.com/a/sign-up
The setup process
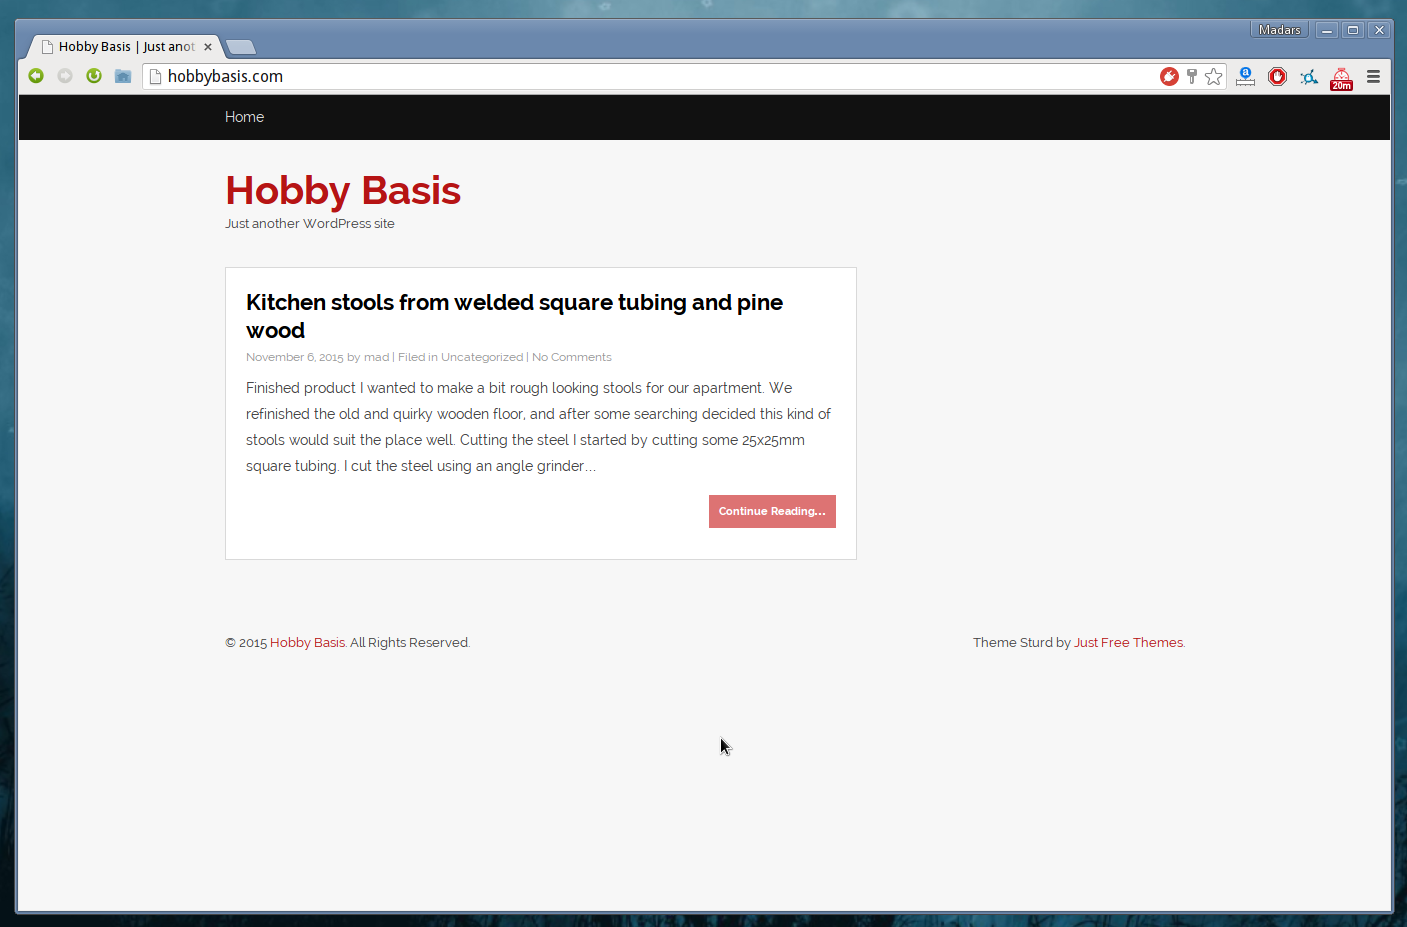
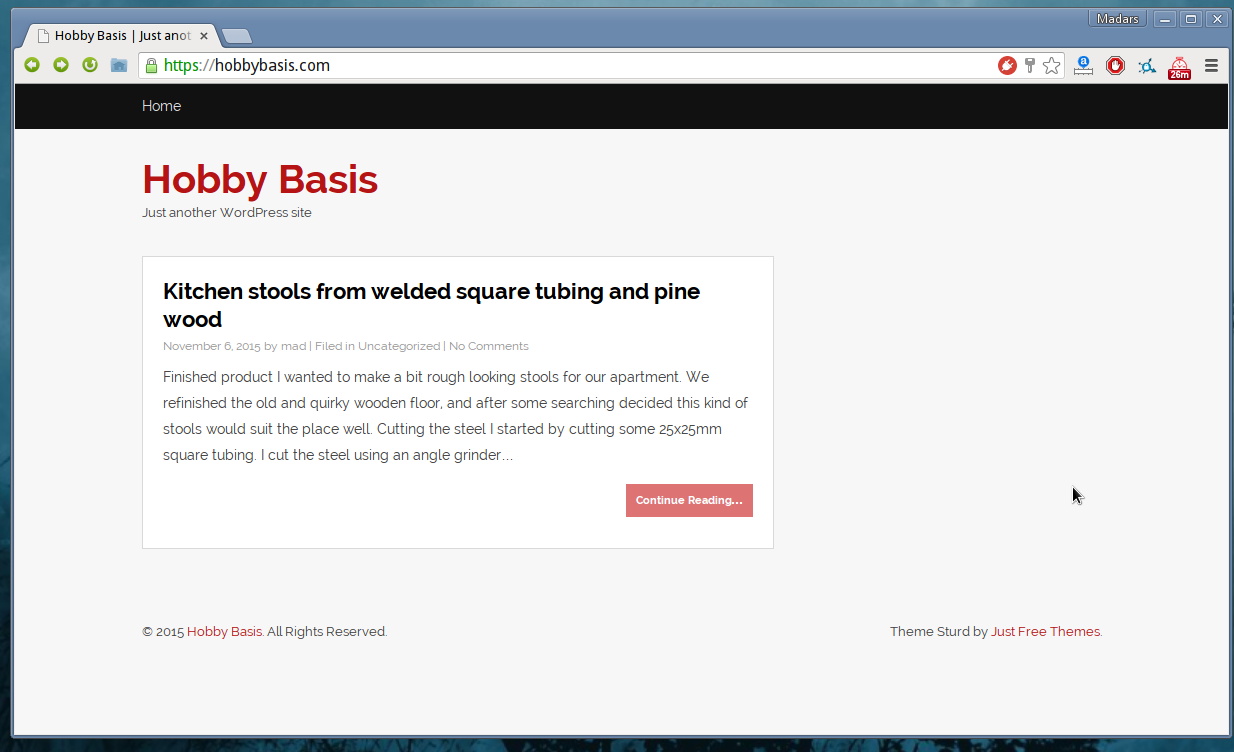
Let’s start with a WordPress site without SSL.
Step 1 – prepare the WordPress
In order for Flexible SSL to work, you need to install a plugin. It’s important to do this step before switching over the DNS to CloudFlare, because otherwise you will lock yourself out of WordPress admin panel, due to some weird redirect thing the WordPress is doing.
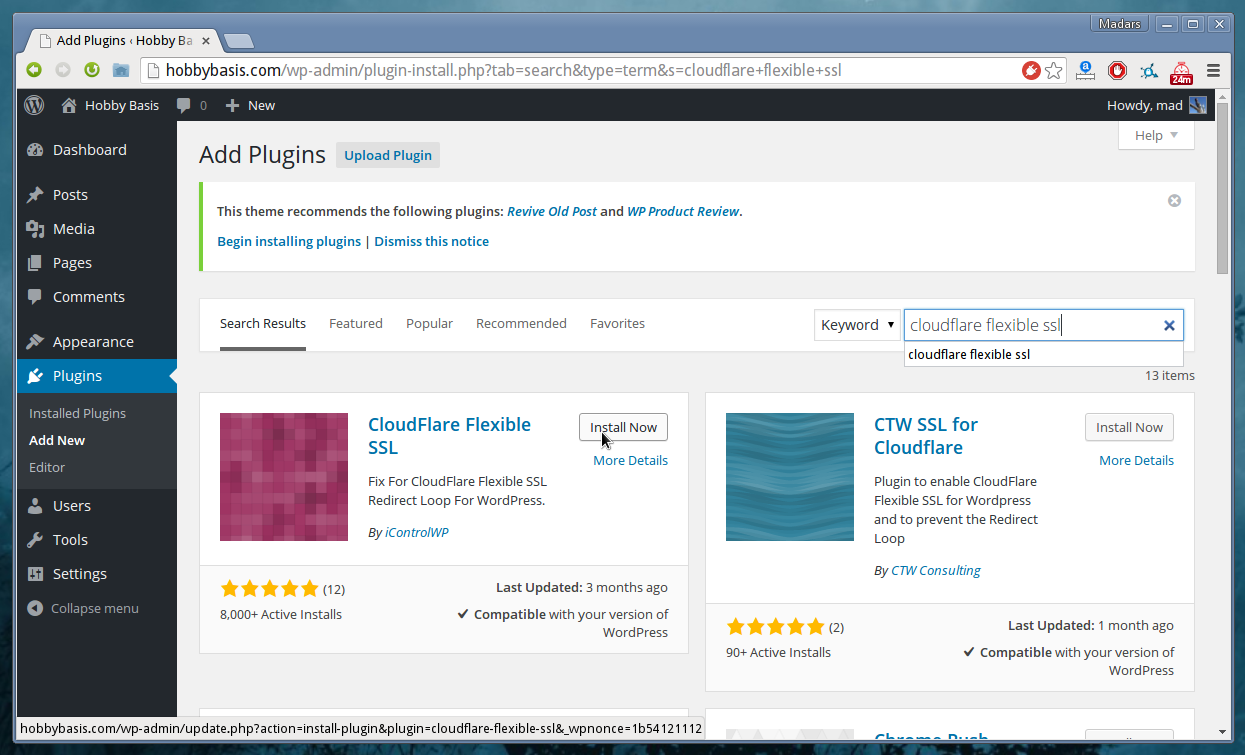
- Log into your WordPress admin panel
- Go to Plugins > Add new
- Search for plugin named “Cloudflare Flexible SSL“
- Install the plugin
- Activate the plugin

Step 2 – add the site to your CloudFlare account
Head over to https://www.cloudflare.com/
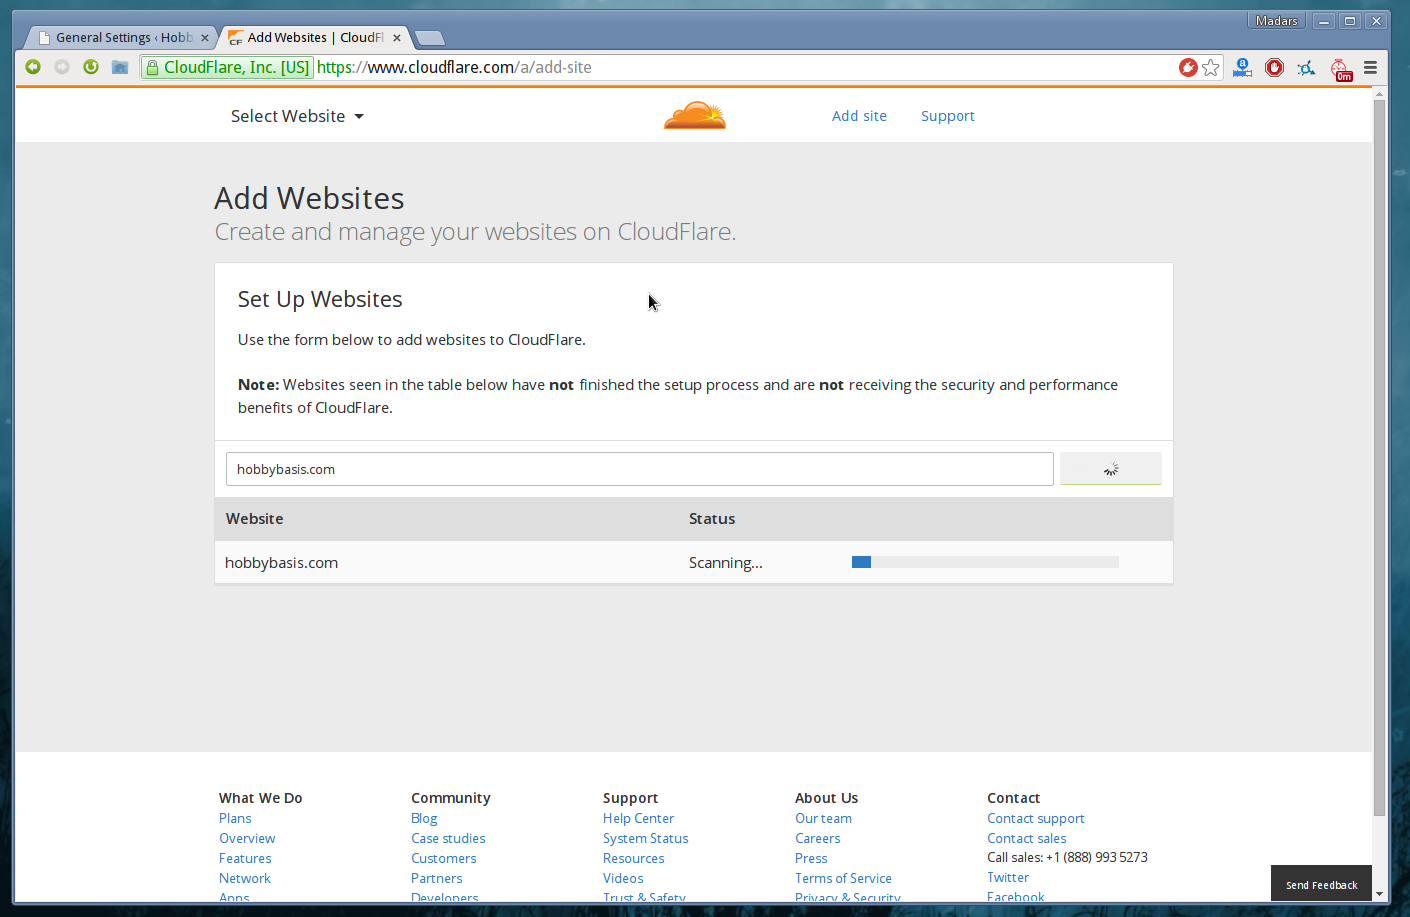
Log in and click “Add site” at the top bar.
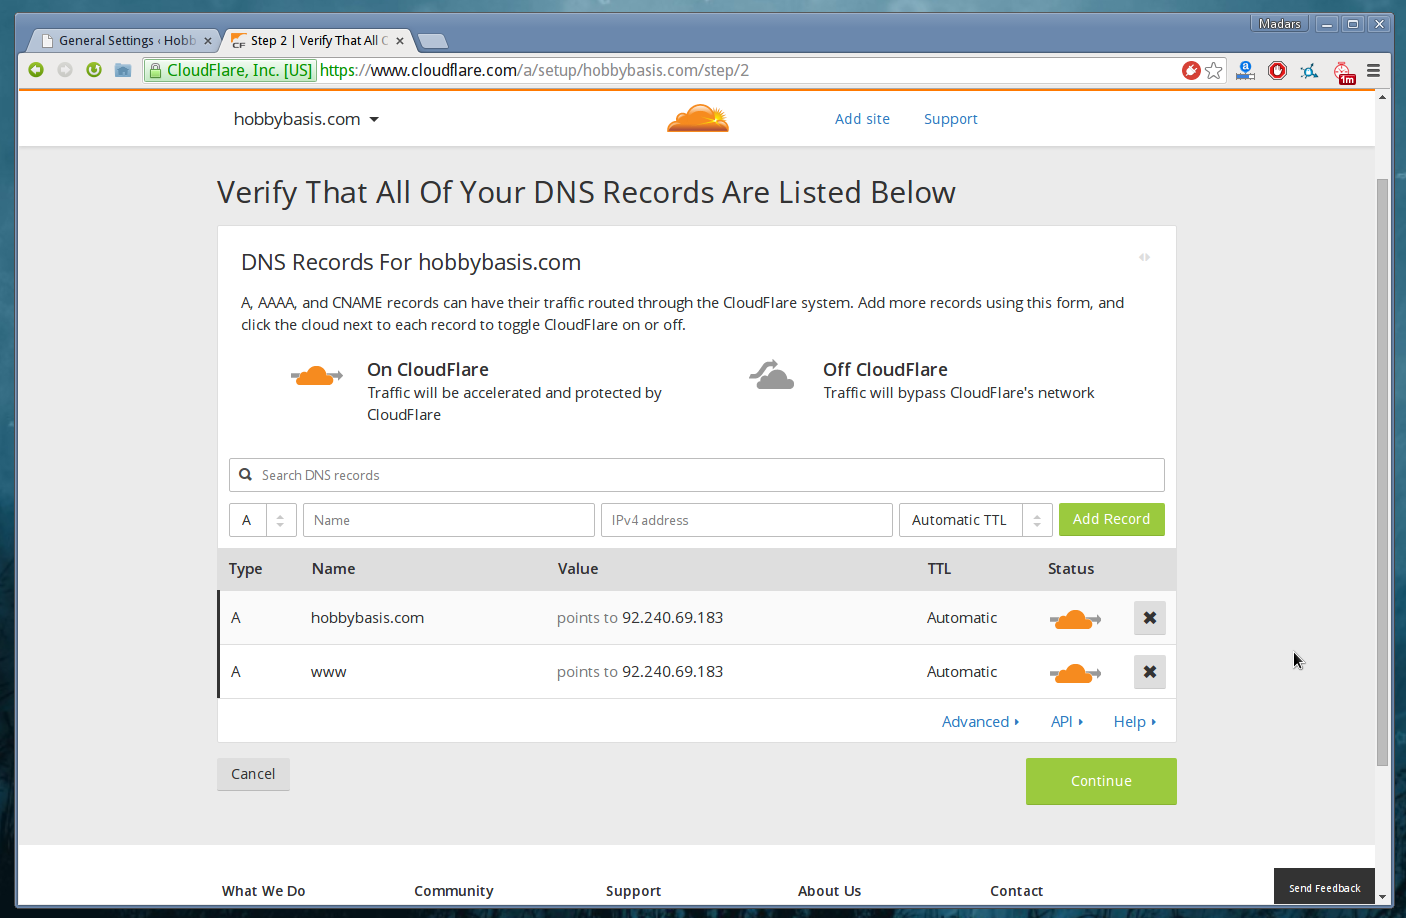
Input your domain name and click the Begin Scan button. This should automatically find your DNS records, when it finishes, click Continue Setup and check if everything is added correctly. It usually is.
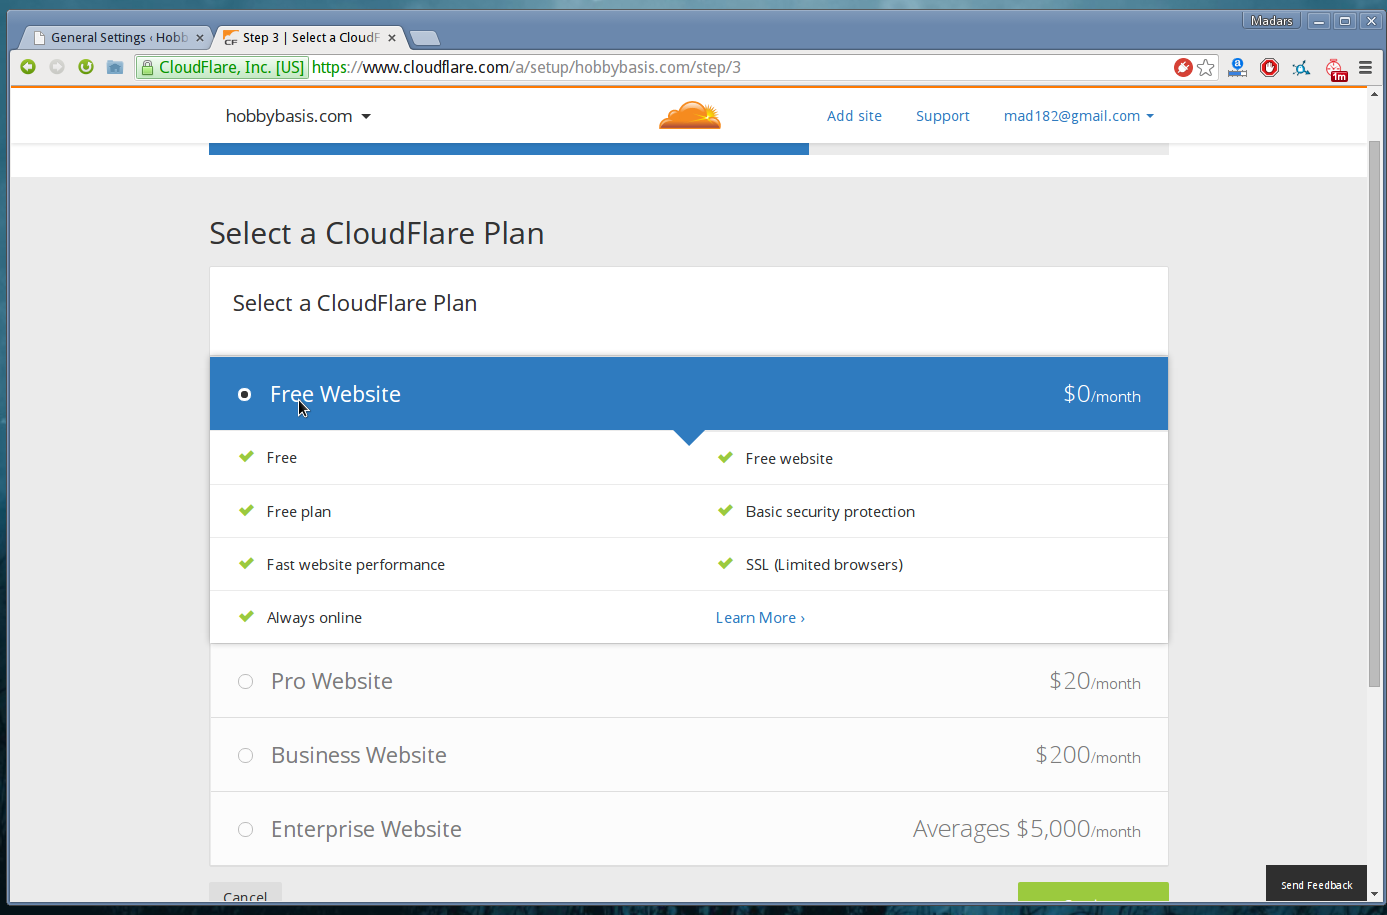
In the next step, select CloudFlare plan. For the features we need, you can safely choose Free Website plan.
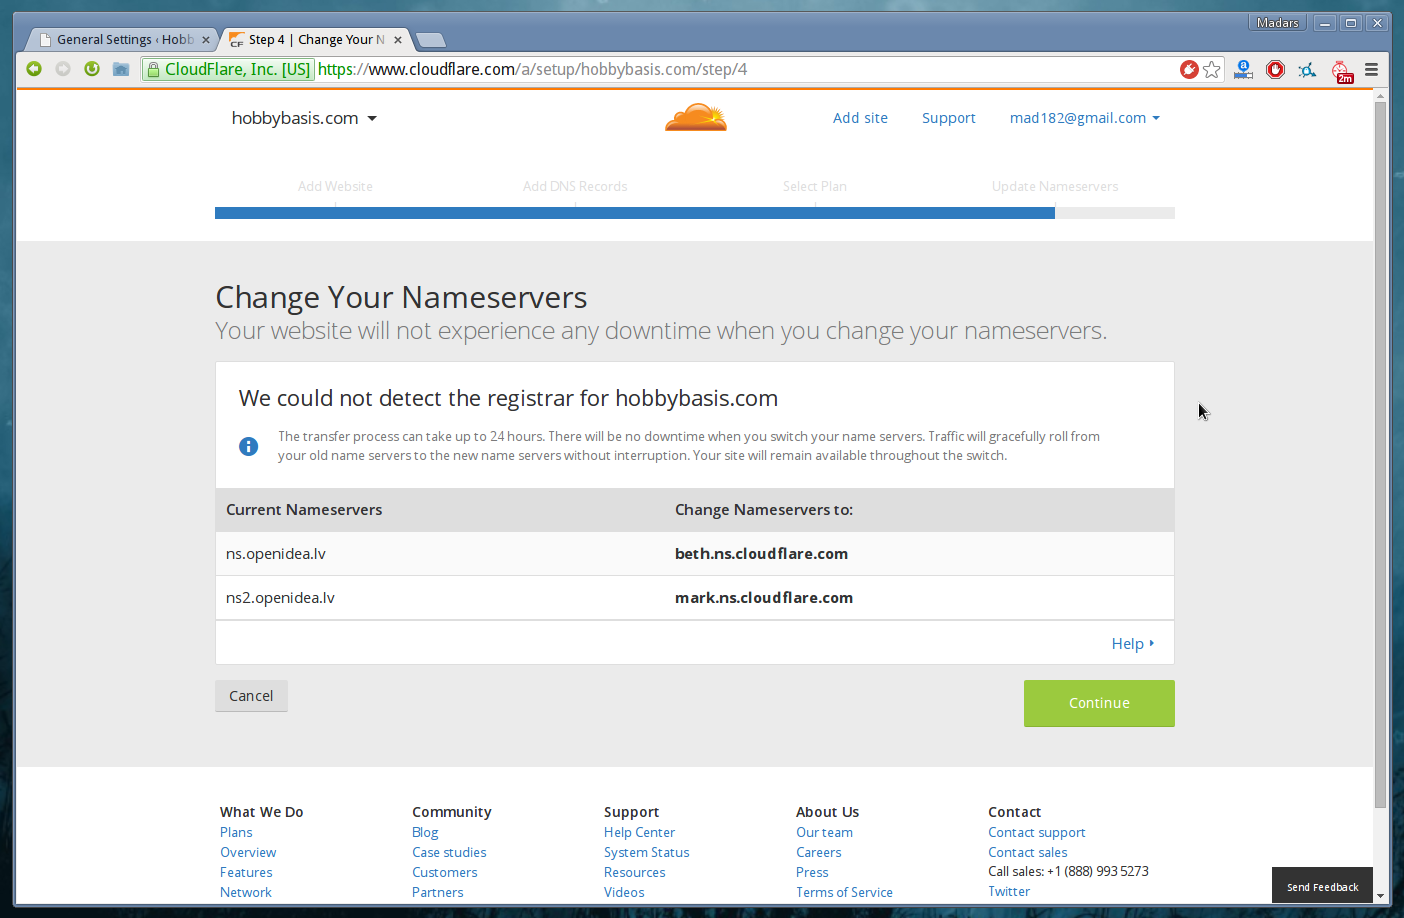
Next – CloudFlare will display the new nameservers you will need to set at your domain registrar in the next step, so don’t close this window.
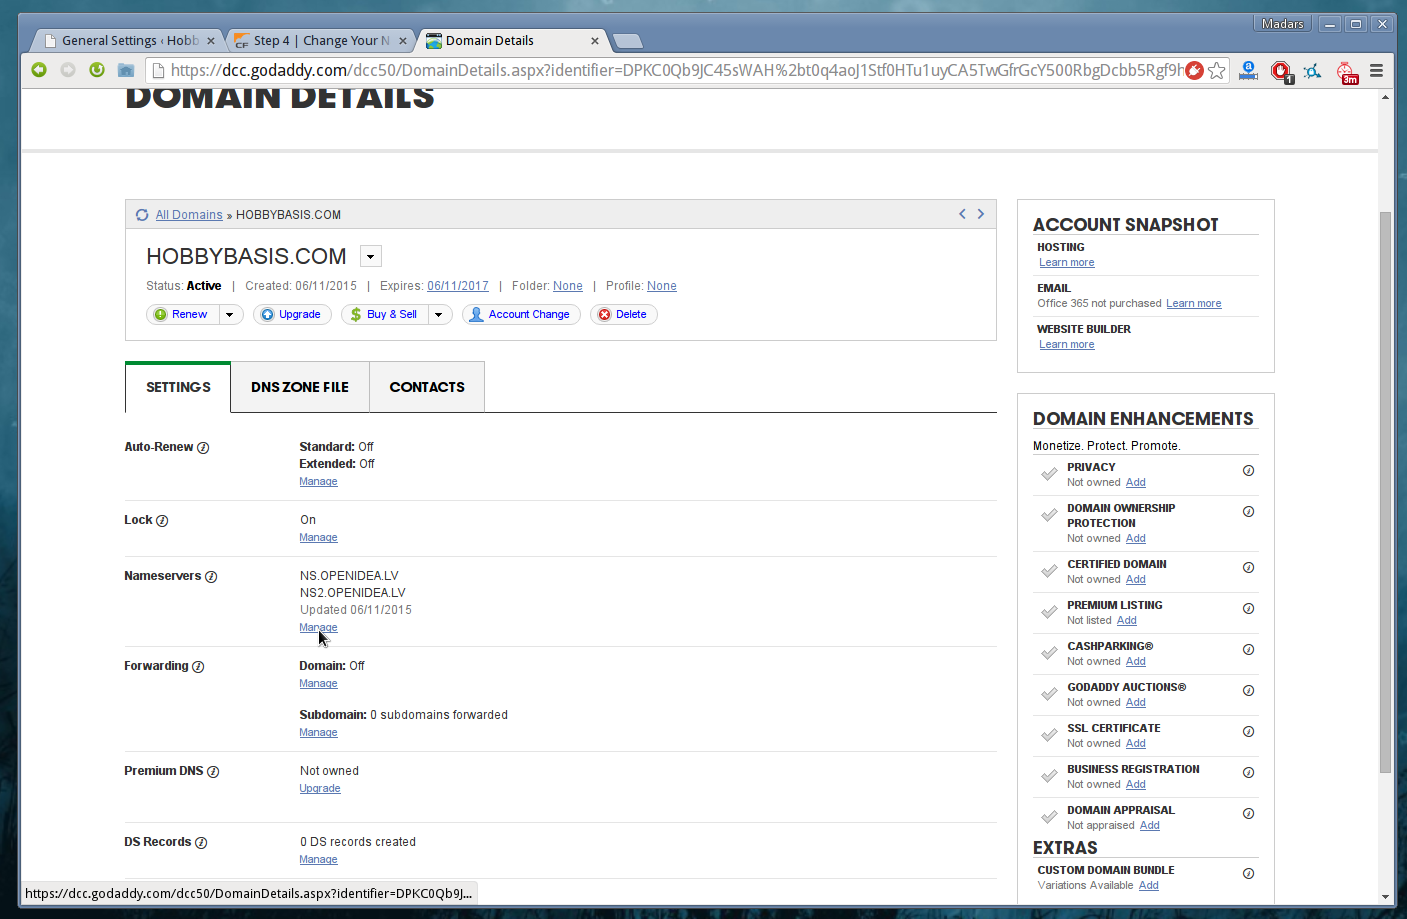
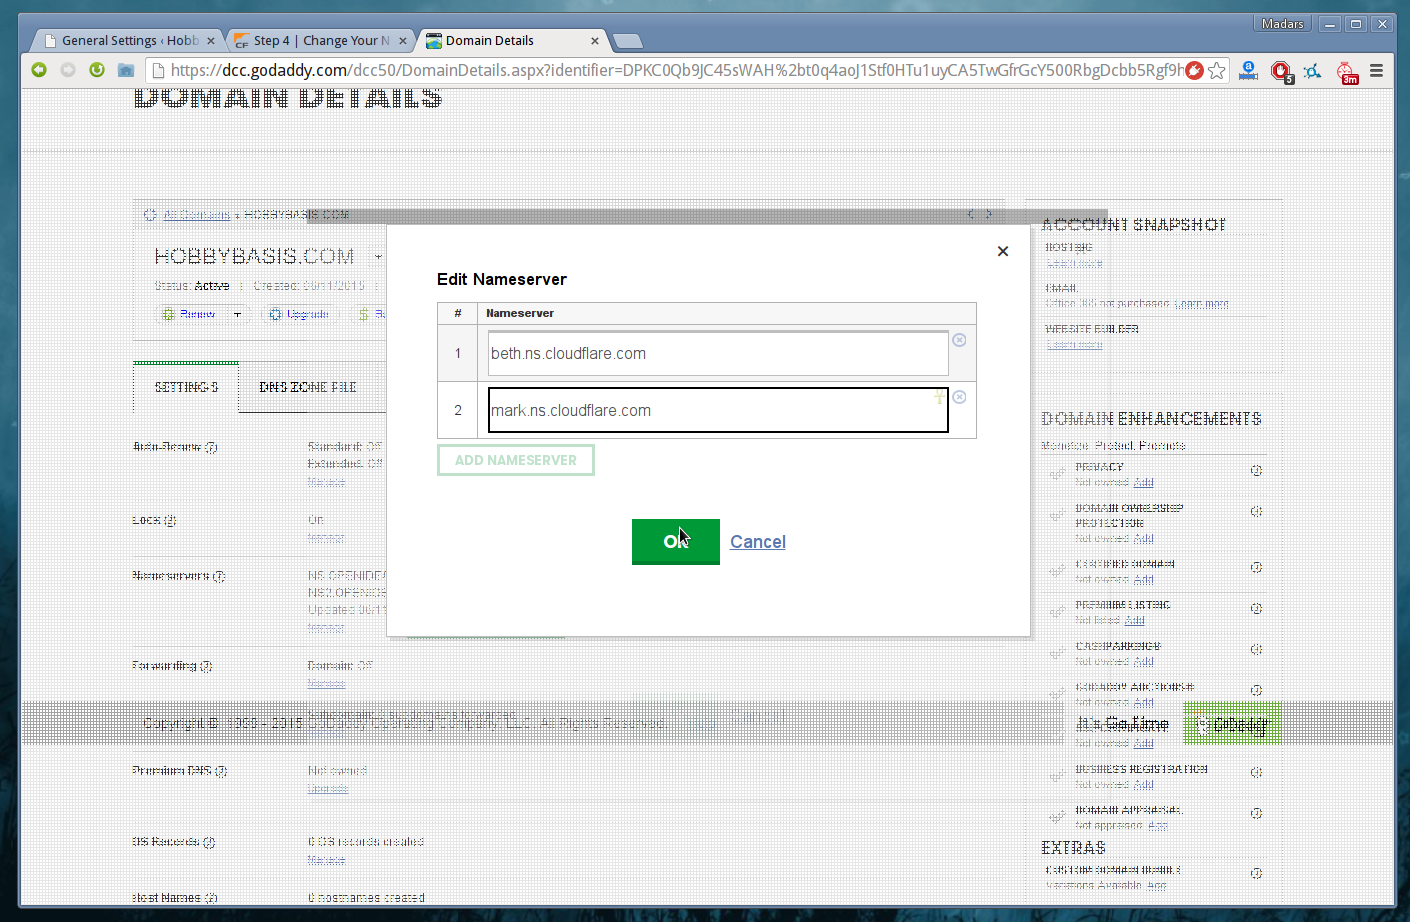
Step 3 – move your DNS records to CloudFlare
Go to the site where you have registered your domain name. In my case it’s godaddy.com, but any other registrar should be similar. You’ll figure this out.

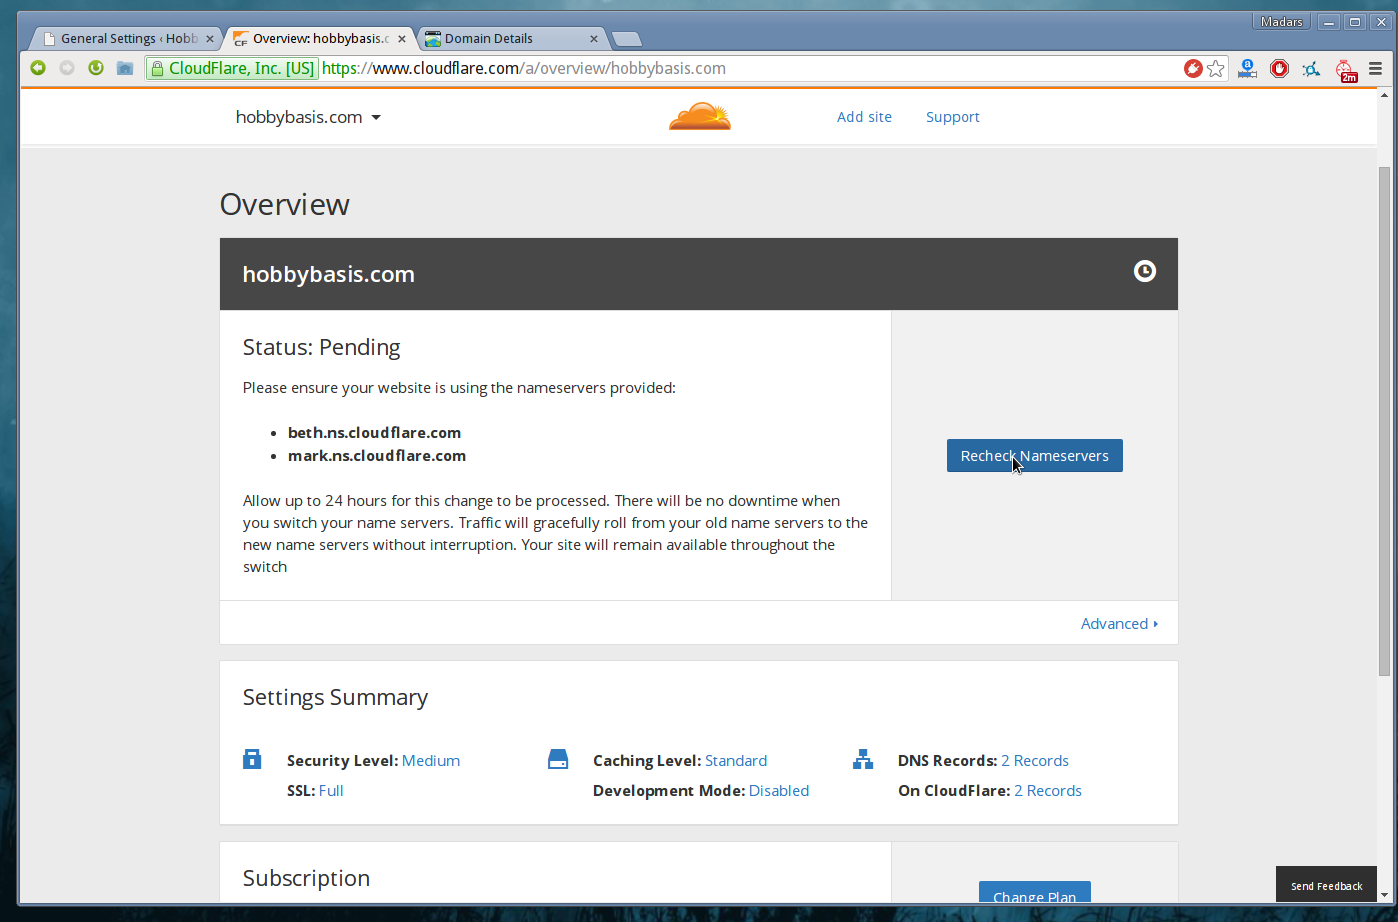
Step 4 – go back to CloudFlare
Go back to CloudFlare, select your domain and click “Recheck Nameservers”. Please note you may need to wait a little, until the nameservers are updated, it usually takes only couple of minutes, but it may be a lot longer in some situations, so don’t panic if it’s not working right away.
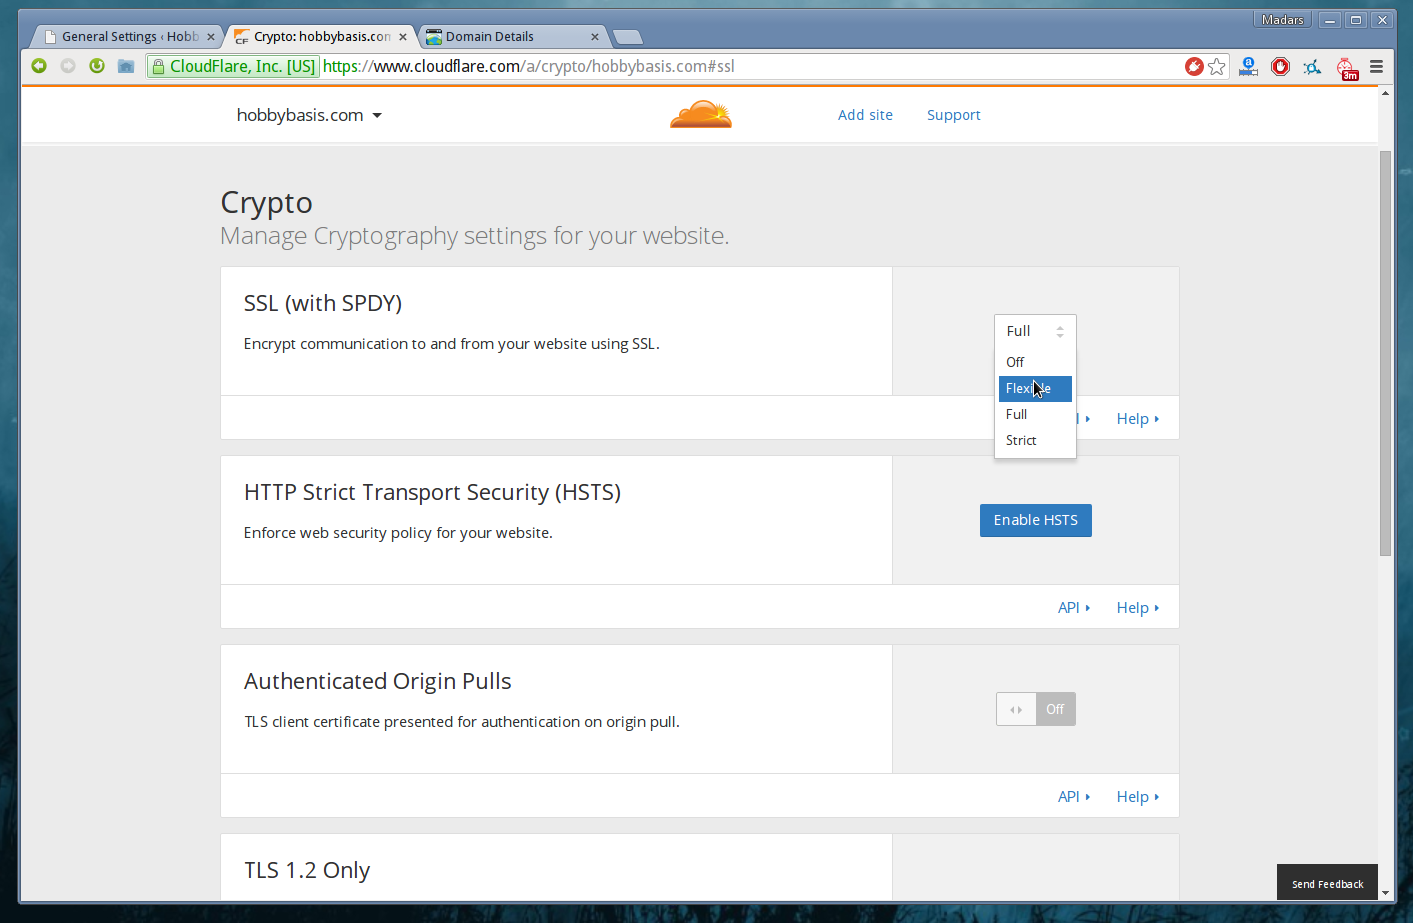
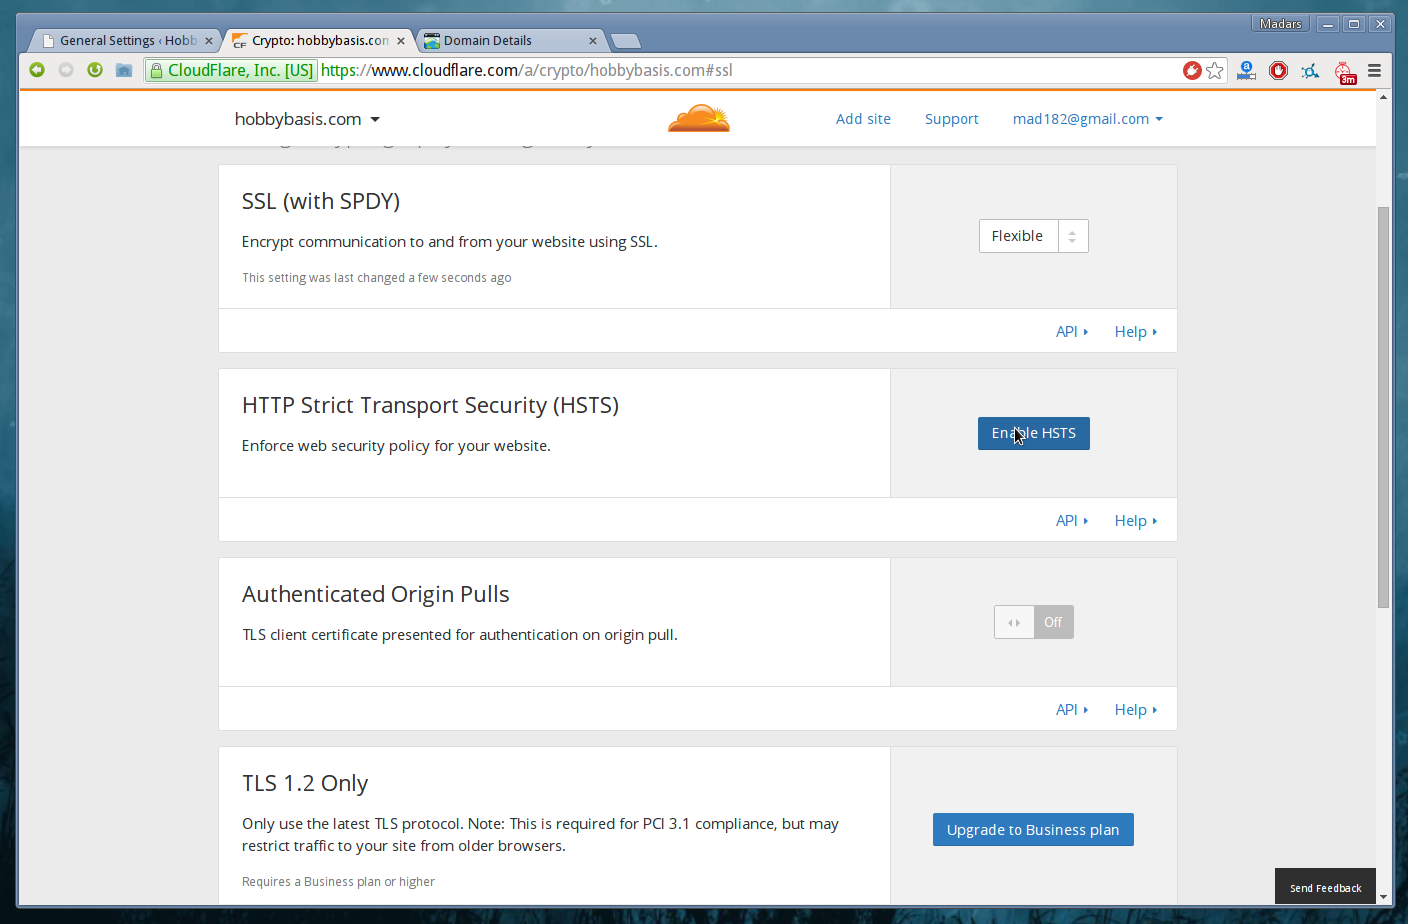
Once it’s done, you will need to make some configration changes on CloudFlare.
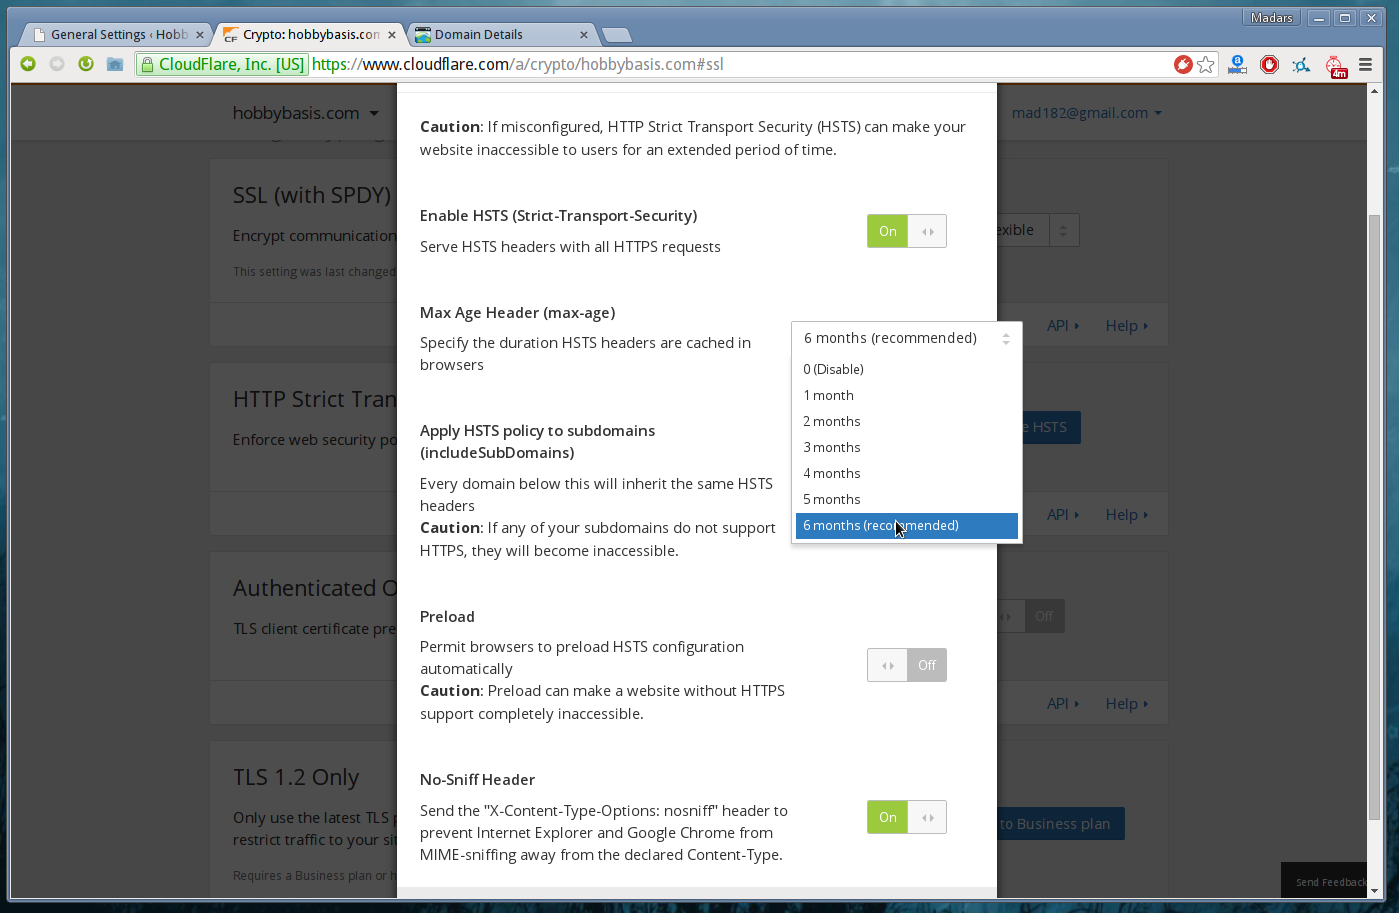
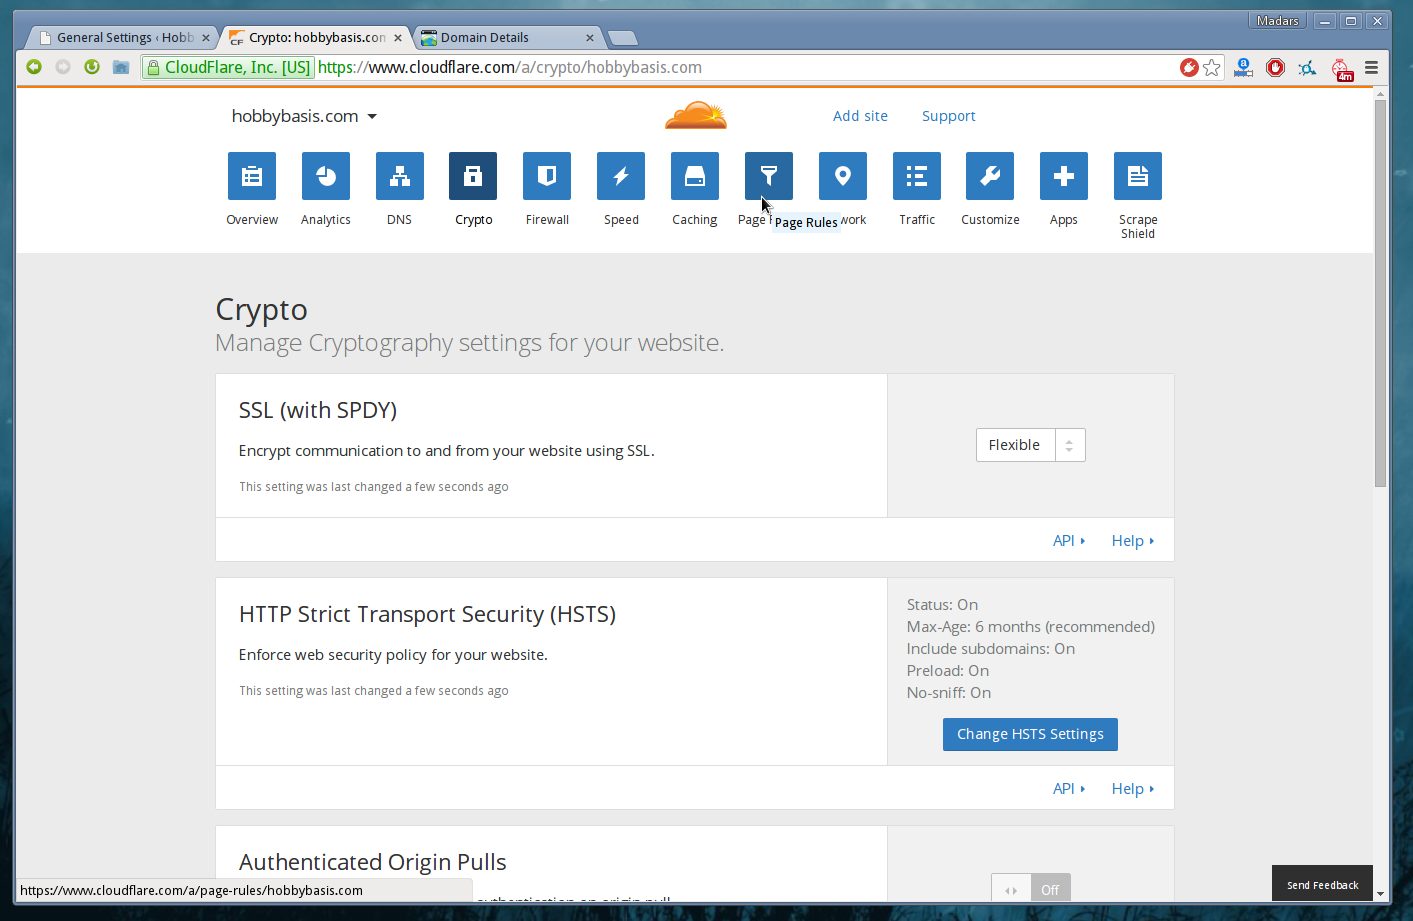
At first, select the Crypto section and enable “Flexible SSL” and “HSTS”.
Now you need to set up redirect for your non-SSL content to the SSL version, to avoid duplicate content and give all users secure access to your site.
Open the Page Rules section and create page rule for the address http://yourdomain.com/* and only setting “Always use https: ON”

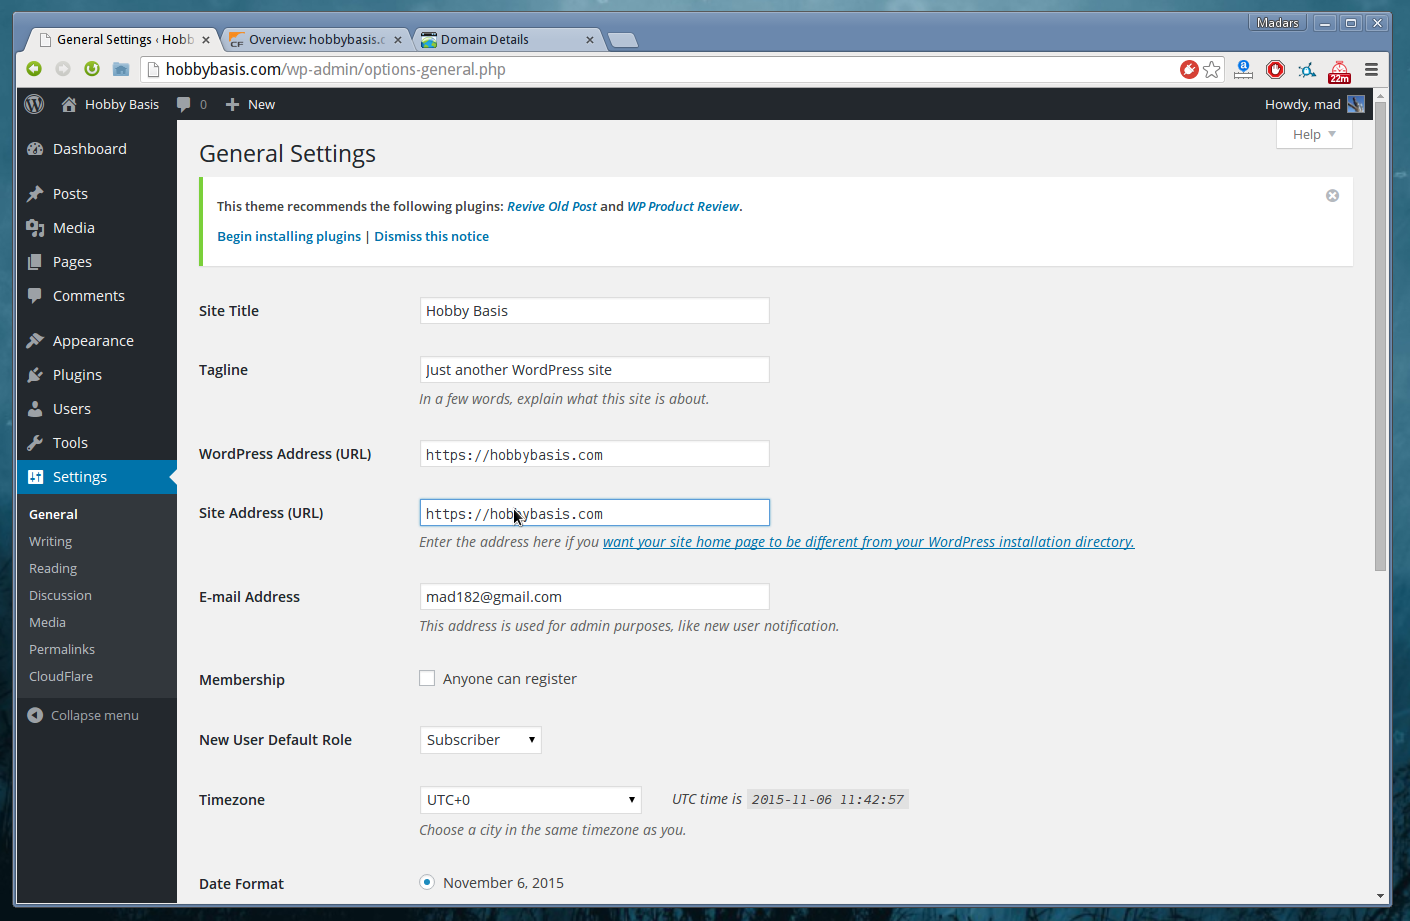
Step 5 – go back to your blog and change site url
Now you may need to wait for some time, until DNS cache for you is updated. One the site is working in SSL version, go to WordPress admin panel > Settings and change the WordPress Address and Site Adress fields to https version.
Now you should be done!
Bonus – how to change all the existing WordPress links from http to https?
If you already have lots of content with images in the posts and inter-linking posts, you should consider updating these links and image src’s to match your new links starting with https:// therefore avoid unnecessary redirects and browser security warnings.
This can easily be done with a single query if you have access to your MySQL database (phpmyadmin, shell access, etc.).
Just execute this query (consider making database backup before. This should be safe, but I would advise making a backup every time before running any direct queries to wp database, especially if you are not an expert at SQL):
UPDATE `wp_posts` SET `post_content` = REPLACE(`post_content`, 'http://yourdomain.com', 'https://yourdomain.com') ;